Table Of Contents
- 1 Introduction
- 2 Understanding the French Manicure
- 3 Gathering Your Supplies
- 4 Step-by-Step Guide to a Flawless French Manicure
- 5 Bonjour, DIY Divas!
- 6 Finishing Touches and Maintenance
- 7 Conclusion
Introduction
Are you ready to bring the elegance and sophistication of a French manicure right to your fingertips? Look no further! In this step-by-step guide, we will take you on a journey to achieve a flawless French manicure in the comfort of your own home. With a little practice, creativity, and the right tools, you’ll be able to master the art of the French manicure like a pro.
Whether you’re a nail enthusiast or a beginner, doing a French manicure at home is easier than you might think. With a few simple techniques and the right tools, you can achieve salon-quality results without leaving the comfort of your own home. The classic French manicure is known for its clean, white tips and sheer or nude base, exuding an air of timeless elegance. However, don’t be afraid to unleash your creativity and add your personal touch with different colors and nail art.
Get ready to unleash your inner nail artist and discover the joy of creating a timeless and polished look that will leave your nails looking chic and sophisticated. So, grab your favorite nail polish shades, roll up your sleeves, and let’s dive into the world of DIY French manicures!
Understanding the French Manicure
In the ever-evolving world of nail trends, one style that has stood the test of time is the French manicure. Renowned for its classic and elegant look, the French manicure has become a symbol of sophistication and beauty.
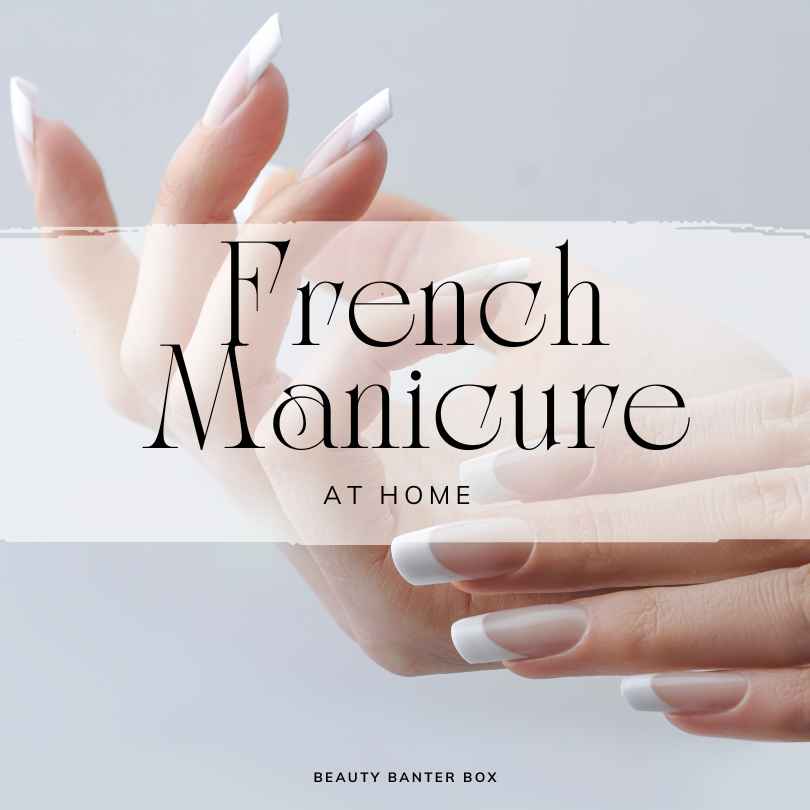
French manicure
A French manicure is a timeless and elegant nail style characterized by a clean, natural-looking nail bed with a delicate white tip. It is versatile, complementing any outfit or occasion. The beauty of a French manicure lies in its simplicity and ability to enhance the hands’ elegance. It offers endless possibilities for personalization and creativity, allowing for unique color combinations and patterns. Whether you opt for the classic style or modern variations, the French manicure exudes sophistication and refinement, making it a popular choice for those seeking a polished and timeless look. To make your nails extra shine this is the right blog for you The Shiny, Slippery Slope of Glamourous Gels
Benefits of DIY French Manicure
- Cost-Effective Beauty: By mastering the art of a French manicure at home, you can save money on salon visits while still achieving professional-looking results.
- Convenience and Flexibility: One of the key advantages of a DIY French manicure is the convenience it offers. With busy schedules and limited time for salon appointments, being able to transform your nails in the comfort of your own home is a game-changer
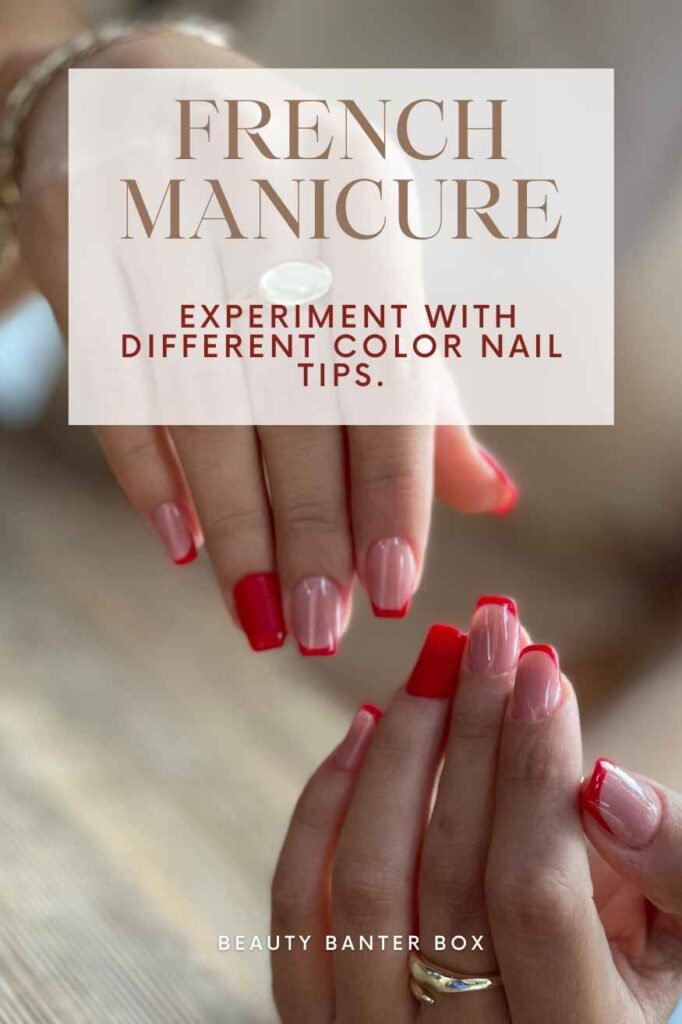
- Personalization and Creative Expression: When doing a French manicure at home, you have the freedom to experiment with different nail shapes, nail art designs, and color variations.
- Nail Health and Safety: Taking care of your nails is essential for their overall health and appearance. With a DIY French manicure, you have control over the products and techniques used, ensuring that your nails receive the utmost care and attention.
Gathering Your Supplies
Essential Tools for a Perfect French Manicure
- Nail Clippers and Files: The foundation of a French manicure begins with well-groomed nails. To achieve the desired shape and length, nail clippers and files are essential. Invest in a high-quality pair of clippers that provide a clean cut without causing any damage. Emery boards or glass files can be used to shape and smooth the edges of the nails, creating a polished canvas for the manicure.
- Cuticle Pusher and Nippers: Preparing the cuticles is a crucial step in a French manicure. A cuticle pusher helps to gently push back the cuticles, creating a clean and even nail bed. Cuticle nippers, if needed, can be used to remove any excess or overgrown cuticles. Remember to be gentle and avoid cutting too much to prevent any discomfort or damage to the cuticles.
- Base Coat: Applying a base coat is essential to protect the nails and provide a smooth surface for the polish. Look for a base coat specifically designed for French manicures, as it helps to enhance the natural color of the nail bed and create a clean canvas for the white tip.
- White Nail Polish: The hallmark of a French manicure is the delicate white tip. Choose a white nail polish that is specifically formulated for French manicures. Opt for a formula that offers good coverage and is easy to apply. The consistency should be smooth and not streaky to ensure a flawless and even white tip.
- Sheer Pink Nail Polish: To complete the French manicure, a sheer pink polish is applied over the nail bed. This pale and natural shade adds a touch of elegance and creates a seamless transition between the nail bed and the white tip. Look for a sheer pink polish with a smooth and even application for the best results.
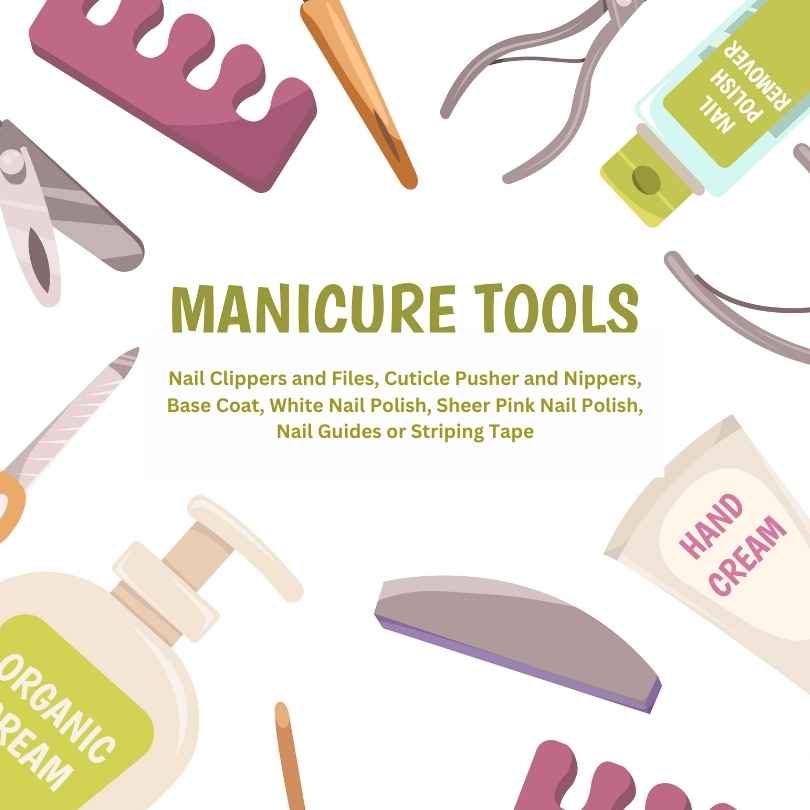
Nail Guides or Striping Tape: Achieving a precise and uniform white tip can be challenging. Nail guides or striping tape can be used as a guide to create a clean line. These tools help to ensure that the white tip is consistent across all nails, giving your French manicure a professional finish.
Optional Additions for Extra Flair
If you’re looking to add a touch of personal flair and creativity to your French manicure, consider these optional additions:
- Nail art brushes: Nail art brushes come in various sizes and shapes, allowing you to create intricate designs, patterns, and details on your nails. Invest in a set of brushes to experiment with different techniques and unleash your creativity.
- Dotting tools: Dotting tools are perfect for creating dots, flowers, or other circular designs on your nails. They come in different sizes, allowing you to achieve varied dot sizes and patterns.
- Nail embellishments: Explore the world of nail embellishments, such as rhinestones, studs, or pearls, to add a touch of glamour and dimension to your French manicure. Apply them strategically on one or more nails as accents to create a unique and eye-catching look.
- Nail polish colors: While the classic French manicure uses white and nude shades, don’t be afraid to experiment with different colors. Consider using pastel shades for a soft and romantic look or vibrant hues for a bold and modern twist on the traditional French manicure.
- Nail stickers and decals: Nail stickers and decals offer a quick and easy way to add intricate designs and patterns to your French manicure. They come in a variety of themes, from floral to geometric, allowing you to personalize your manicure to match your style and mood.
Step-by-Step Guide to a Flawless French Manicure
Prepping Your Nails
- Removing Old Nail Polish
Before starting your French manicure, it’s important to ensure your nails are clean and free from any remnants of old nail polish. Begin by using an acetone-based nail polish remover to gently wipe away the existing polish. Opt for a non-acetone nail remover if you have sensitive nails. Be thorough in this step, ensuring you remove every last trace of color to achieve a pristine canvas for your French manicure.
- Shaping and Filing Your Nails
The shape of your nails plays a vital role in the overall look of your French manicure. Whether you prefer a square, round, or almond shape, use a nail clipper to trim them to your desired length. Next, grab a nail file and gently shape the edges, ensuring they’re smooth and uniform. Avoid sawing back and forth, as it can weaken the nails. Instead, file in one direction, using a gentle sweeping motion. Take your time and pay attention to detail for perfectly shaped nails.
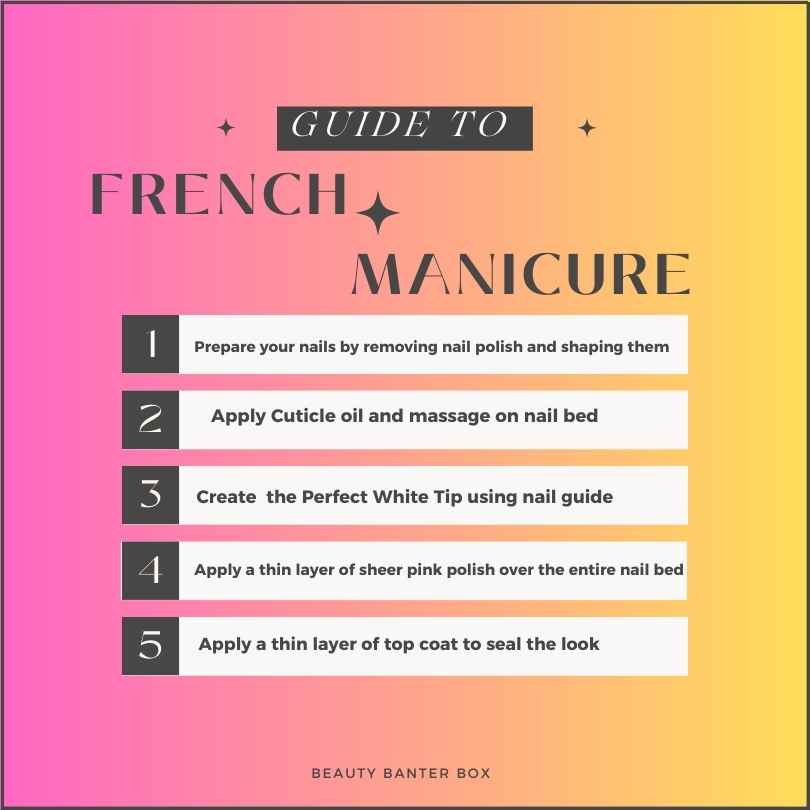
Nurturing Your Cuticles
To achieve a clean and professional-looking nail bed, it’s essential to nurture and care for your cuticles. Begin by soaking your fingertips in warm, soapy water for a few minutes to soften the cuticles. Once softened, use a cuticle pusher or an orangewood stick to gently push back the cuticles. Be careful not to apply too much pressure, as this can cause damage. For added moisture and nourishment, apply a cuticle oil or cream and massage it into the nail beds. This step not only promotes healthier nails but also creates a clean surface for your French manicure.
Applying the Base Coat
A base coat is a crucial step in achieving a flawless French manicure. Not only does it provide a smooth foundation, but it also helps the polish adhere better and last longer. Start by applying a thin layer of base coat to each nail, ensuring you cover the entire surface. A quality base coat will fill in any ridges or imperfections, giving your nails a flawless finish. Allow the base coat to dry completely before moving on to the next step.

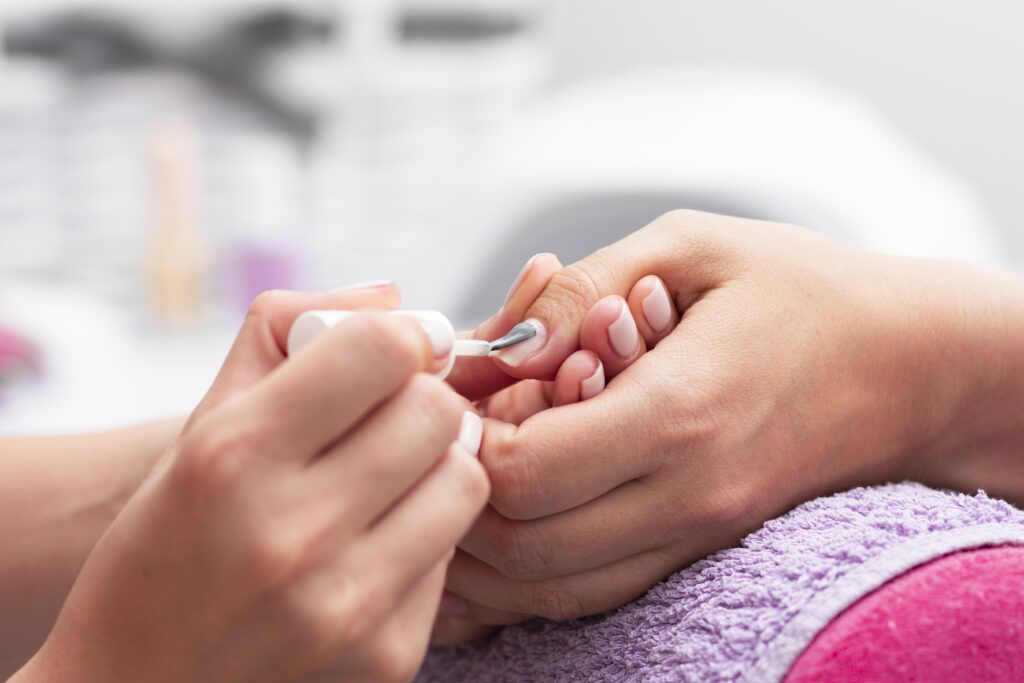
Creating the Perfect White Tip For French Manicure
Using Nail Guides or Tape
Creating the perfect white tip requires precision and attention to detail. One effective method is to use nail guides or tape as a guide for painting the tip. Place the guides or tape just below the tip of each nail, leaving the desired width of the white tip exposed. With a steady hand, carefully apply white nail polish to the exposed area. Start with thin strokes and build up the opacity as needed. Once done, gently remove the guides or tape while the polish is still wet to avoid any smudging. Allow the white tip to dry completely before proceeding.
For those confident in their nail art skills, the freehand technique offers a more personalized touch. Dip a thin nail art brush into white nail polish and carefully paint the white tip, starting from one side of the nail and moving towards the center. Repeat the process on the other side. Take your time and work in small strokes for precise results. If needed, use a nail polish corrector pen or a small brush dipped in nail polish remover to clean up any mistakes. Allow the white tip to dry thoroughly before moving on.

Bonjour, DIY Divas!
Get Salon-Perfect Tips for Picture-Perfect Nails
Adding the Sheer Pink
The sheer pink polish is what gives the French manicure its signature elegance. To achieve a natural and refined look, apply a thin layer of sheer pink polish over the entire nail, covering both the base coat and the white tip. Start in the center of the nail and brush gently towards the cuticle, then repeat on each side. Use long, even strokes to ensure a smooth and streak-free application. If necessary, apply a second coat for a more intense color. Allow the sheer pink polish to dry completely before proceeding.
Sealing the Look with a Top Coat
The final step in achieving a flawless French manicure is sealing the look with a top coat. Apply a thin layer of top coat to each nail, covering the entire surface. A good top coat will not only add shine but also enhance the durability of your manicure, preventing chipping and extending its lifespan. Ensure you cap the edges of your nails to seal them properly. Allow the top coat to dry completely before proceeding to ensure a smudge-free finish.
Quick-Drying Tips and Tricks
To speed up the drying process and avoid smudges and smears, consider the following tips and tricks:
- Apply quick-drying drops or sprays specifically designed to accelerate the drying time of nail polish.
- Submerge your freshly painted nails in cold water for a few minutes. The cold temperature will help set the polish faster.
- Use a blow dryer on the cool setting to gently blow air over your nails, promoting quicker drying.
- Avoid touching or putting pressure on your nails until they are completely dry to prevent any unwanted smudging or denting.
Finishing Touches and Maintenance
A French manicure is a timeless and elegant nail style that adds sophistication to any look. To achieve the perfect French manicure, it’s important not only to master the art of applying polish but also to pay attention to the finishing touches and maintenance.
Cleaning Up Excess Polish
To achieve a flawless French manicure, it’s crucial to clean up any excess polish or fix mistakes and smudges. Here are some expert tips to help you with precision:
- Use a clean-up brush: Invest in a small, angled brush specifically designed for clean-up. Dip it in acetone or nail polish remover and carefully trace along the edges of your nails to remove any polish that has strayed outside the lines.
- Correcting pen or cotton swabs: If you don’t have a clean-up brush, a correcting pen or a cotton swab dipped in nail polish remover can also be effective for spot-cleaning and fixing mistakes.
- Patience is key: Take your time when cleaning up your French manicure. It’s better to remove excess polish gradually than to rush and risk damaging the polish on your nails.
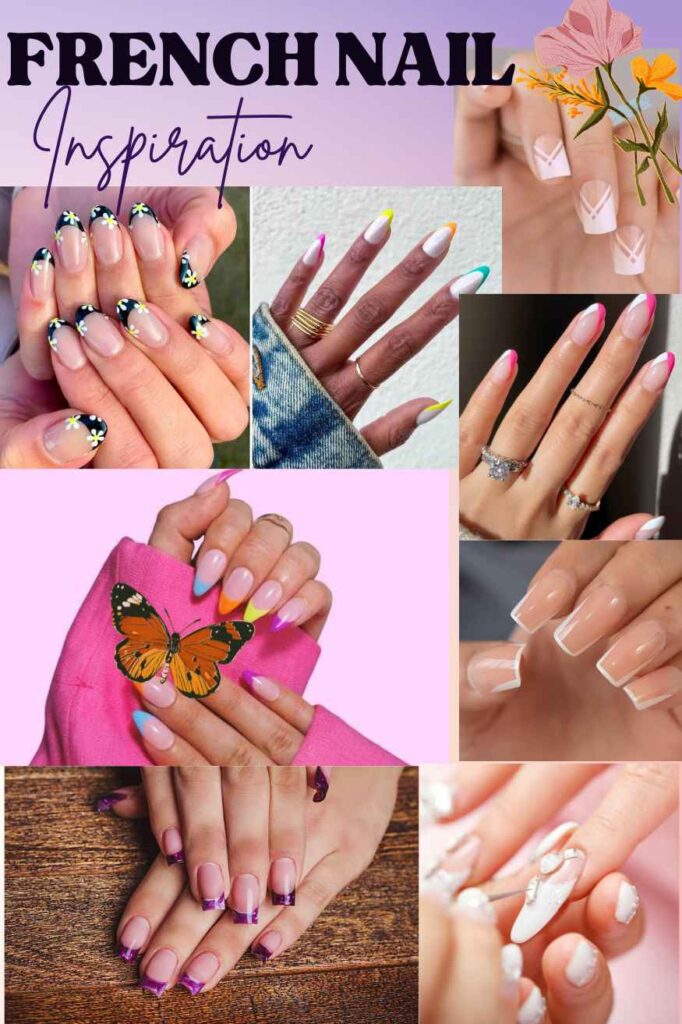
By Adding Extra Details and Nail Art (Optional)
While the classic French manicure is beautiful on its own, adding extra details and nail art can take it to the next level. Here are some creative ideas to enhance your French manicure:
- Accent nails: Choose one or two nails on each hand to accentuate with a different shade or a touch of sparkle. You can use complementary colors or experiment with bold shades that add a pop of personality to your French manicure.
- French tip variations: Get creative with the traditional white tip of a French manicure. Instead of a straight line, try a scalloped edge, a gradient effect, or even a metallic or glittery tip for added glamour.
- Nail decals and stickers: Explore the world of nail art decals and stickers. They come in various designs, from delicate floral patterns to intricate geometric shapes. Apply them strategically on one or more nails to add a unique touch to your French manicure.
- Nail stamping: Nail stamping is a technique that allows you to transfer intricate designs onto your nails using special plates and a stamping tool. You can find a wide range of French-themed stamping plates that will add elegance and sophistication to your manicure.
Maintaining Your French Manicure
To ensure your French manicure stays flawless for as long as possible, follow these maintenance tips:
- Apply a top coat: After completing your French manicure, seal the design with a high-quality top coat. This will protect the polish and prevent chipping.
- Be gentle on your nails: Avoid using your nails as tools to prevent unnecessary stress and potential chipping. Use a bottle opener or scissors when needed.
- Moisturize regularly: Keep your nails and cuticles hydrated by applying a nourishing cuticle oil or hand cream daily. This will help prevent dryness and keep your manicure looking fresh.
- Wear gloves for household chores: Protect your manicure by wearing gloves while doing household chores, such as washing dishes or cleaning. Water and harsh chemicals can weaken the polish and cause it to chip.
- Schedule touch-ups: As your nails grow, the natural nail bed becomes more visible, which can affect the overall appearance of your French manicure. Schedule regular touch-ups to maintain the perfect balance between the white tip and your natural nail.
Conclusion
By following our step-by-step guide and incorporating your creativity, you can showcase salon-worthy nails that exude elegance and sophistication. Remember to gather your supplies, clean up excess polish with precision, and consider adding extra details or nail art to personalize your manicure. With practice, patience, and attention to detail, you’ll become a master of the French manicure in no time. Experiment with different colors, explore nail art techniques and let your inner nail artist shine. Whether you opt for the traditional white tips or decide to add your unique twist, your DIY French manicure will turn heads and leave a lasting impression. So, gather your tools, express your personal style, and enjoy the satisfaction of creating a professional-looking manicure in the comfort of your own home. Get ready to flaunt your flawless nails with confidence, and remember to share your newfound skills with friends and loved ones. Happy nail artistry and may your French manicures always be on point!